Syncing Qdrant with Postgres Using Airbyte to Build RAG Applications over SQL Data


Overview
One of the major hurdles in building robust RAG applications is keeping the Vector Store consistently updated with the latest information. This is crucial because RAG models rely on this store to retrieve relevant context for generating accurate and informative responses.
Traditionally, RAG applications handle two main data types:
Unstructured Data: This encompasses documents like PDFs, wikis, website content, and even emails. Processing this data typically involves using parsers for formats like PDF or doc, and then storing the extracted text's embeddings within the Vector Store.Structured Data: This refers to data organized in a tabular format, often stored in relational databases like PostgreSQL or MySQL.
This article focuses on building a data pipeline that utilizes structured data for RAG applications. We'll explore how to leverage Airbyte to extract relevant information from databases like PostgreSQL and integrate it effectively into a vector store like Qdrant DB.
Airbyte
Airbyte is an open-source data integration platform designed to simplify data consolidation and synchronization for organizations. It offers a user-friendly interface, flexibility, scalability, and extensive connector support for various sources and destinations. Airbyte's architecture consists of sources, destinations, connectors, and an API for managing data integration tasks.
Setting Up Airbyte Locally
Airbyte offers a local deployment option that allows you to deploy and manage the platform on your local machine. When deploying Airbyte locally, you have the option to use Docker to get started immediately. This approach is recommended when trying out Airbyte. Alternatively, you can use Airbyte Self-Managed Enterprise.
We will be deploying Airbyte locally and, for that, we need to make sure Docker Engine is already installed in our system. We will first clone the Airbyte repo from GitHub.
git clone --depth=1 https://github.com/airbytehq/airbyte.git
Next, we will switch to the Airbyte directory:
cd airbyte
Now, to start Airbyte, we need to run this command:
./run-ab-platform.sh
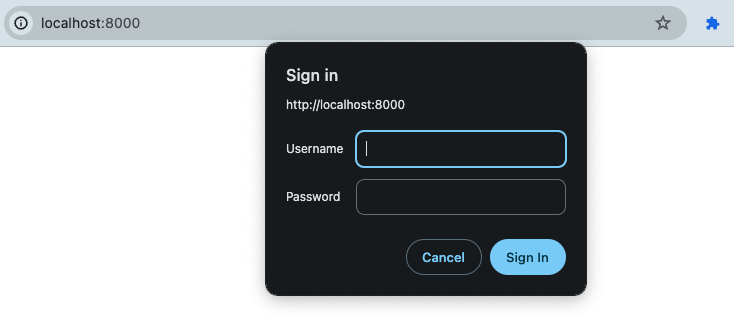
It will take some time to download the images and build the container; once done, you will be able to access the AirByte UI locally here: http://localhost:8000
The home page will require a Username and Password to log in. The default username is airbyte and password is password.
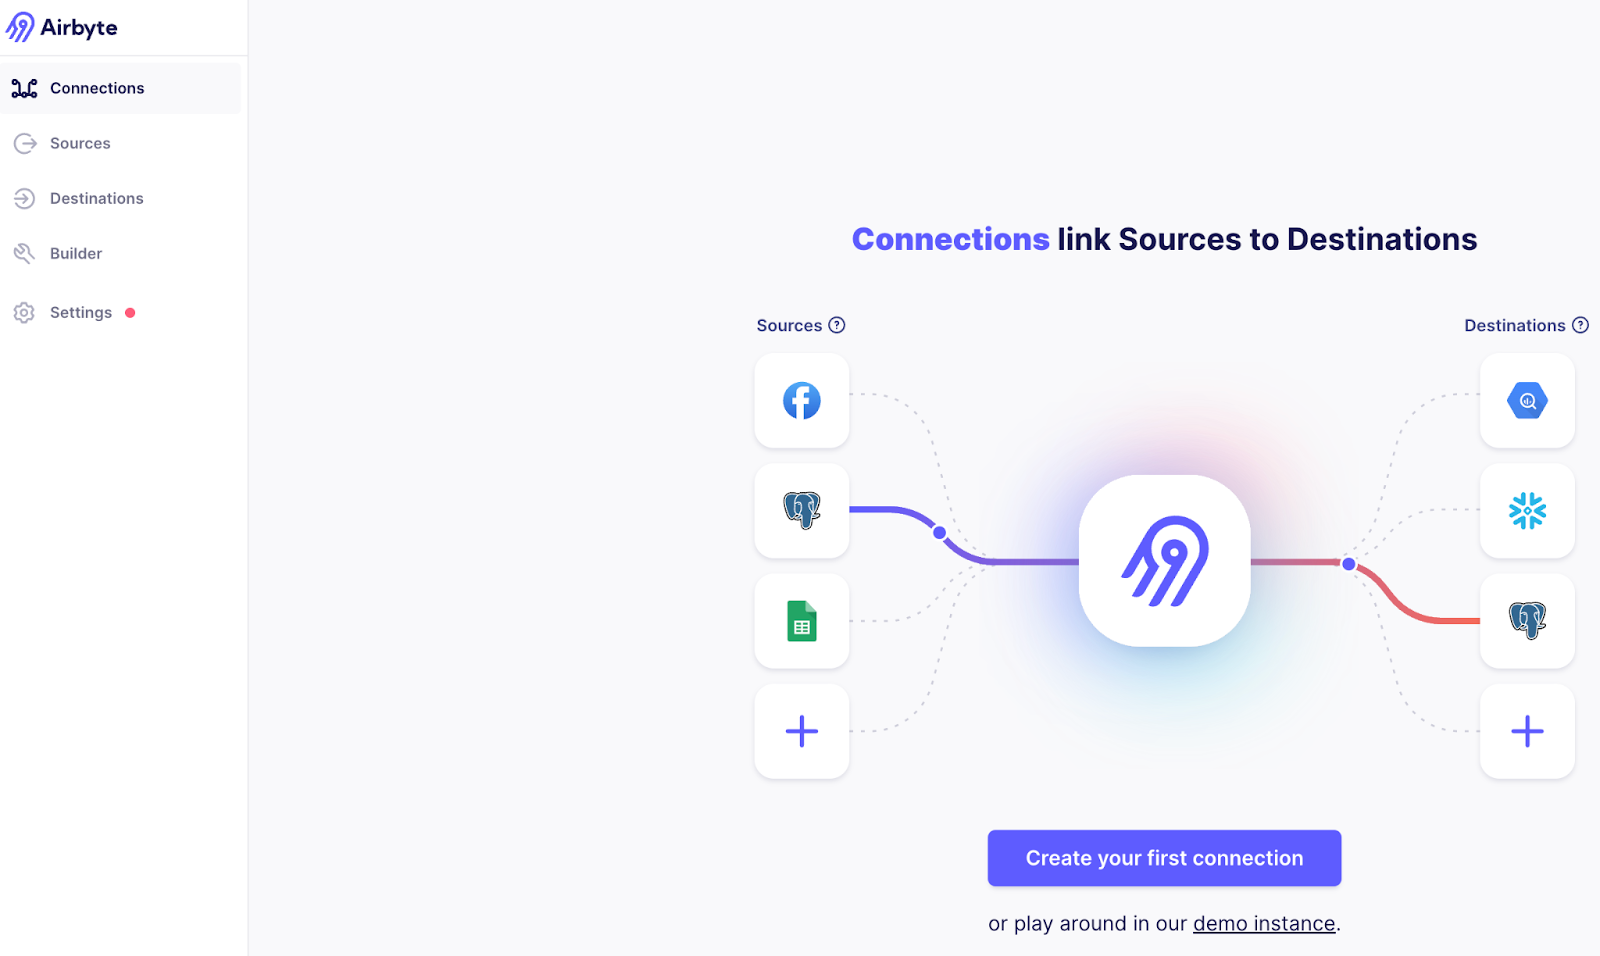
On successfully login in, you will see this landing page:
Airbyte Pipeline Components
Let’s first understand the different components of Airbyte.
Sources: Sources refer to the various data sources that can be connected to for data replication. These sources can include databases, APIs, files, data warehouses, and data lakes, among others. Airbyte supports over 350 connectors for different data sources, allowing for flexible and scalable data replication strategies.
Destinations: Destinations in Airbyte refer to the various data storage and analysis systems that Airbyte can sync data to. These can include data warehouses like BigQuery and Snowflake, data lakes like S3, and vector stores like Qdrant.
We will be using PostgreSQL as a data source and Qdrant vector store as a data destination.
Data Source PostgreSQL
I'm using a local instance of PostgreSQL as the source database for employee data. A database named employee_db exists, containing the employee_info table that I intend to replicate to a Qdrant vector store using the data pipeline. The schema for the employee_info table is provided below:
CREATE TABLE employee_info (
    employee_id SERIAL PRIMARY KEY,
    first_name VARCHAR(50),
    last_name VARCHAR(50),
    email VARCHAR(100),
    department VARCHAR(50),
    address VARCHAR(1000),
    education_history VARCHAR(1000),
    project_details VARCHAR(1000),
    hr_remarks VARCHAR(1000)
);
Below is the employee_info table sample data:

Data Destination Qdrant
Qdrant is an Open-Source Vector Database and Vector Search Engine that provides a fast and scalable vector similarity search service with a convenient API to store, search, and manage vectors. Qdrant offers multiple deployment options, including local mode, on-premise, and Qdrant Cloud. My Qdrant vector store is deployed in Qdrant Cloud; you can read more about Qdrant Cloud here.
Building Postgres Qdrant Pipeline in Airbyte
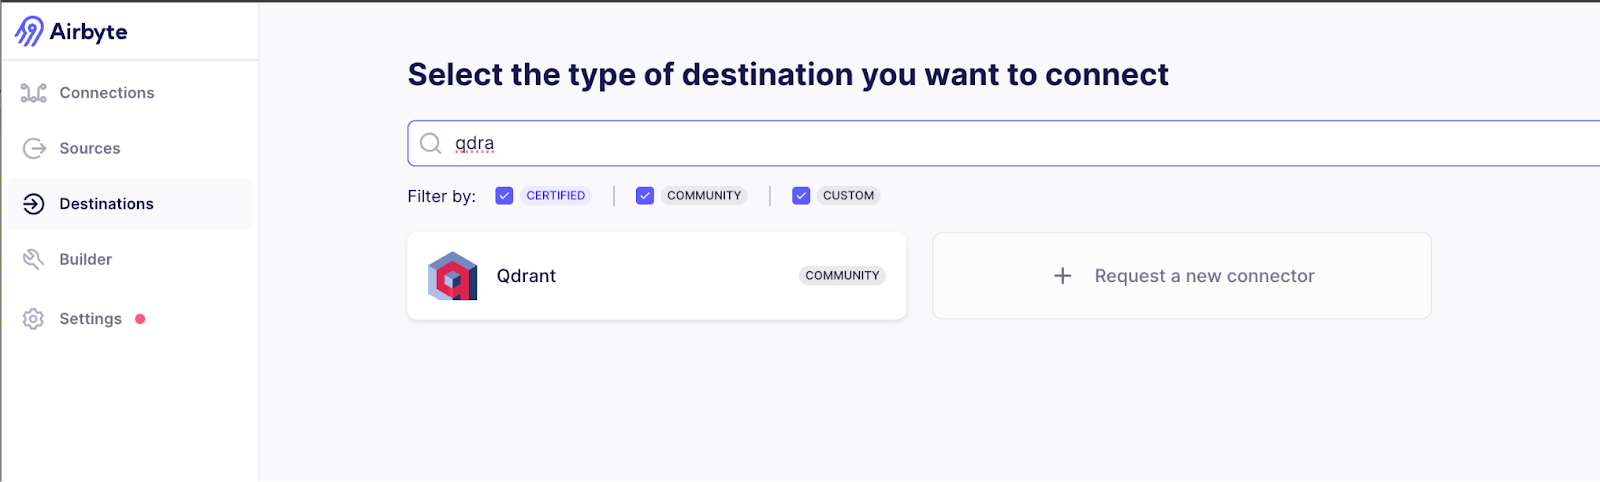
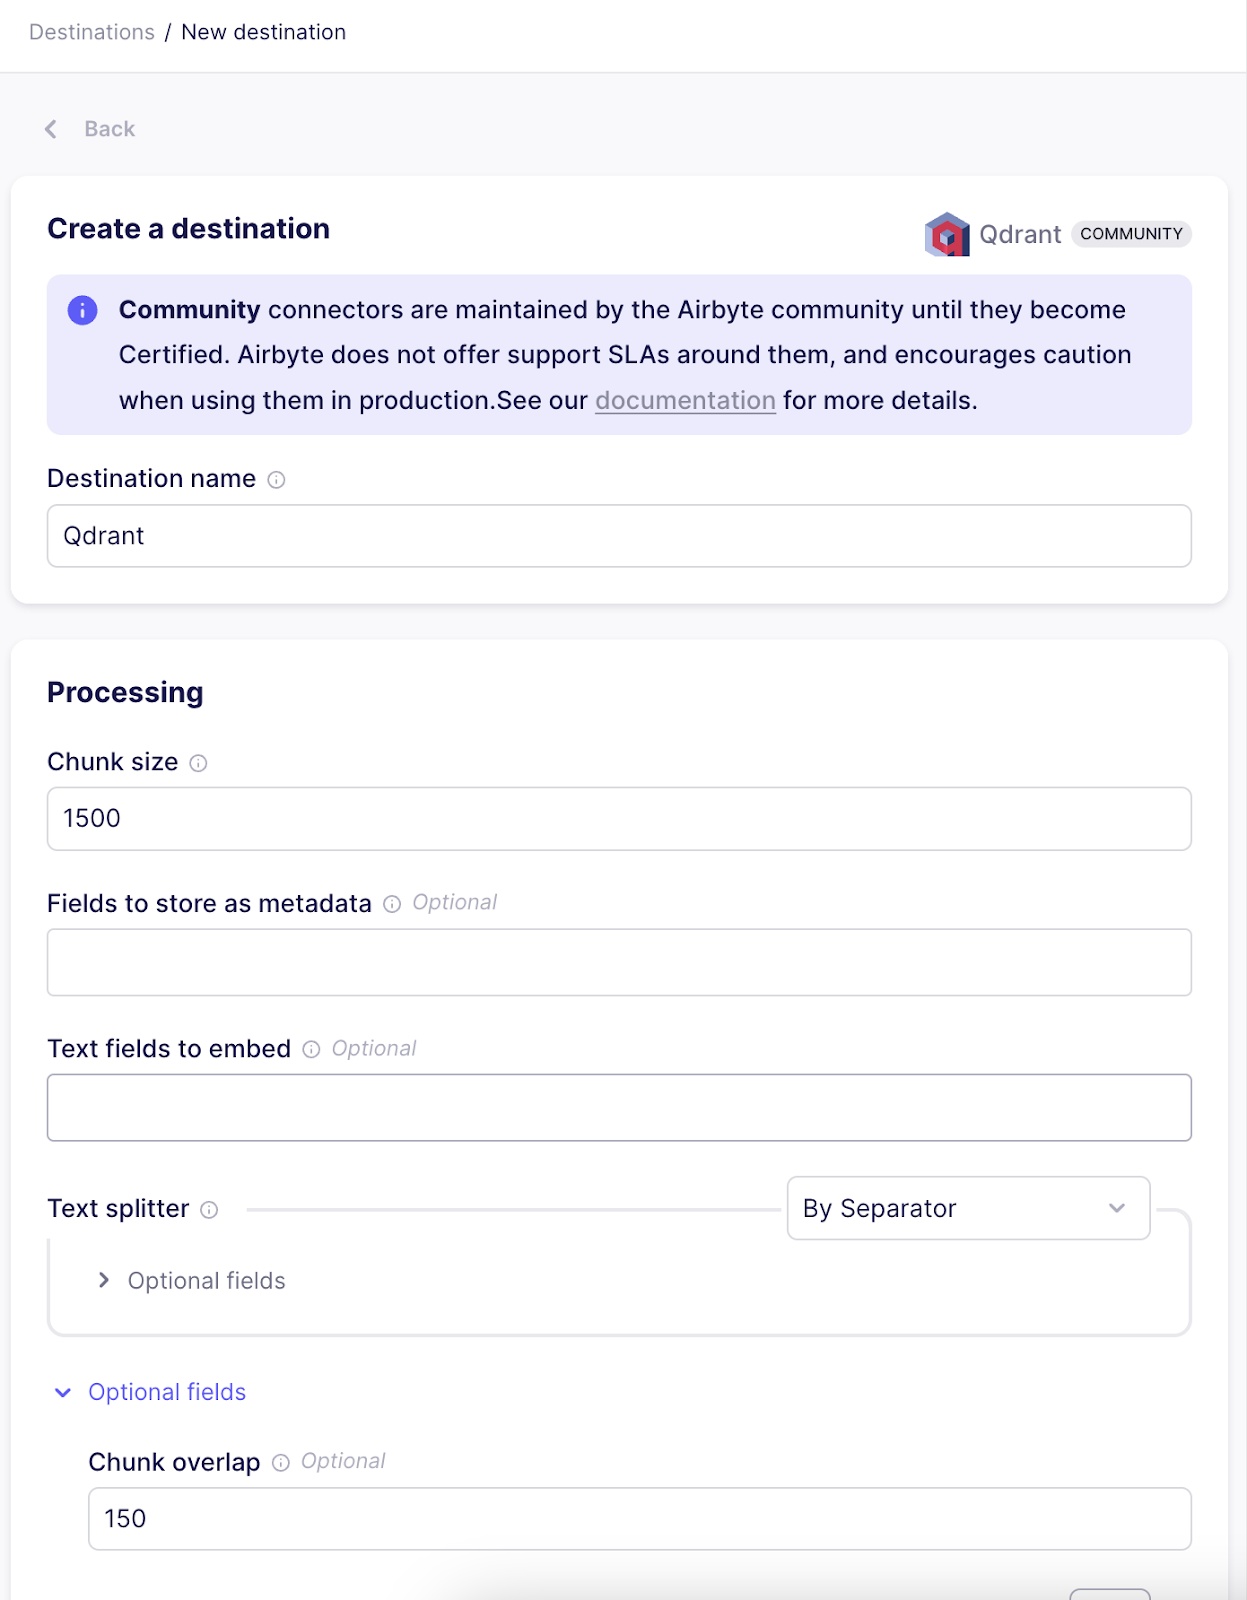
First, we need to select the destination connector; in the search box, we will search for Qdrant and select that option.
On selecting Qdrant connector it will take us to the connector’s Settings page. The chunk size of each vector is kept at 1500, with an overlap of 150 characters.
Next, we need to select the Embeddings options. I went ahead with OpenAI embeddings. For using OpenAI embeddings, we need the OpenAI API key. Apart from that, we also need these 3 pieces of information:
Qdrant Cluster Url: Url of the cloud cluster
API Key: API key for accessing the cloud cluster
Collection Name: The name of the Qdrant collection where you want to publish the data
If the collection does not exist in the Qdrant cloud, it will automatically create one for you when the destination setup is complete.
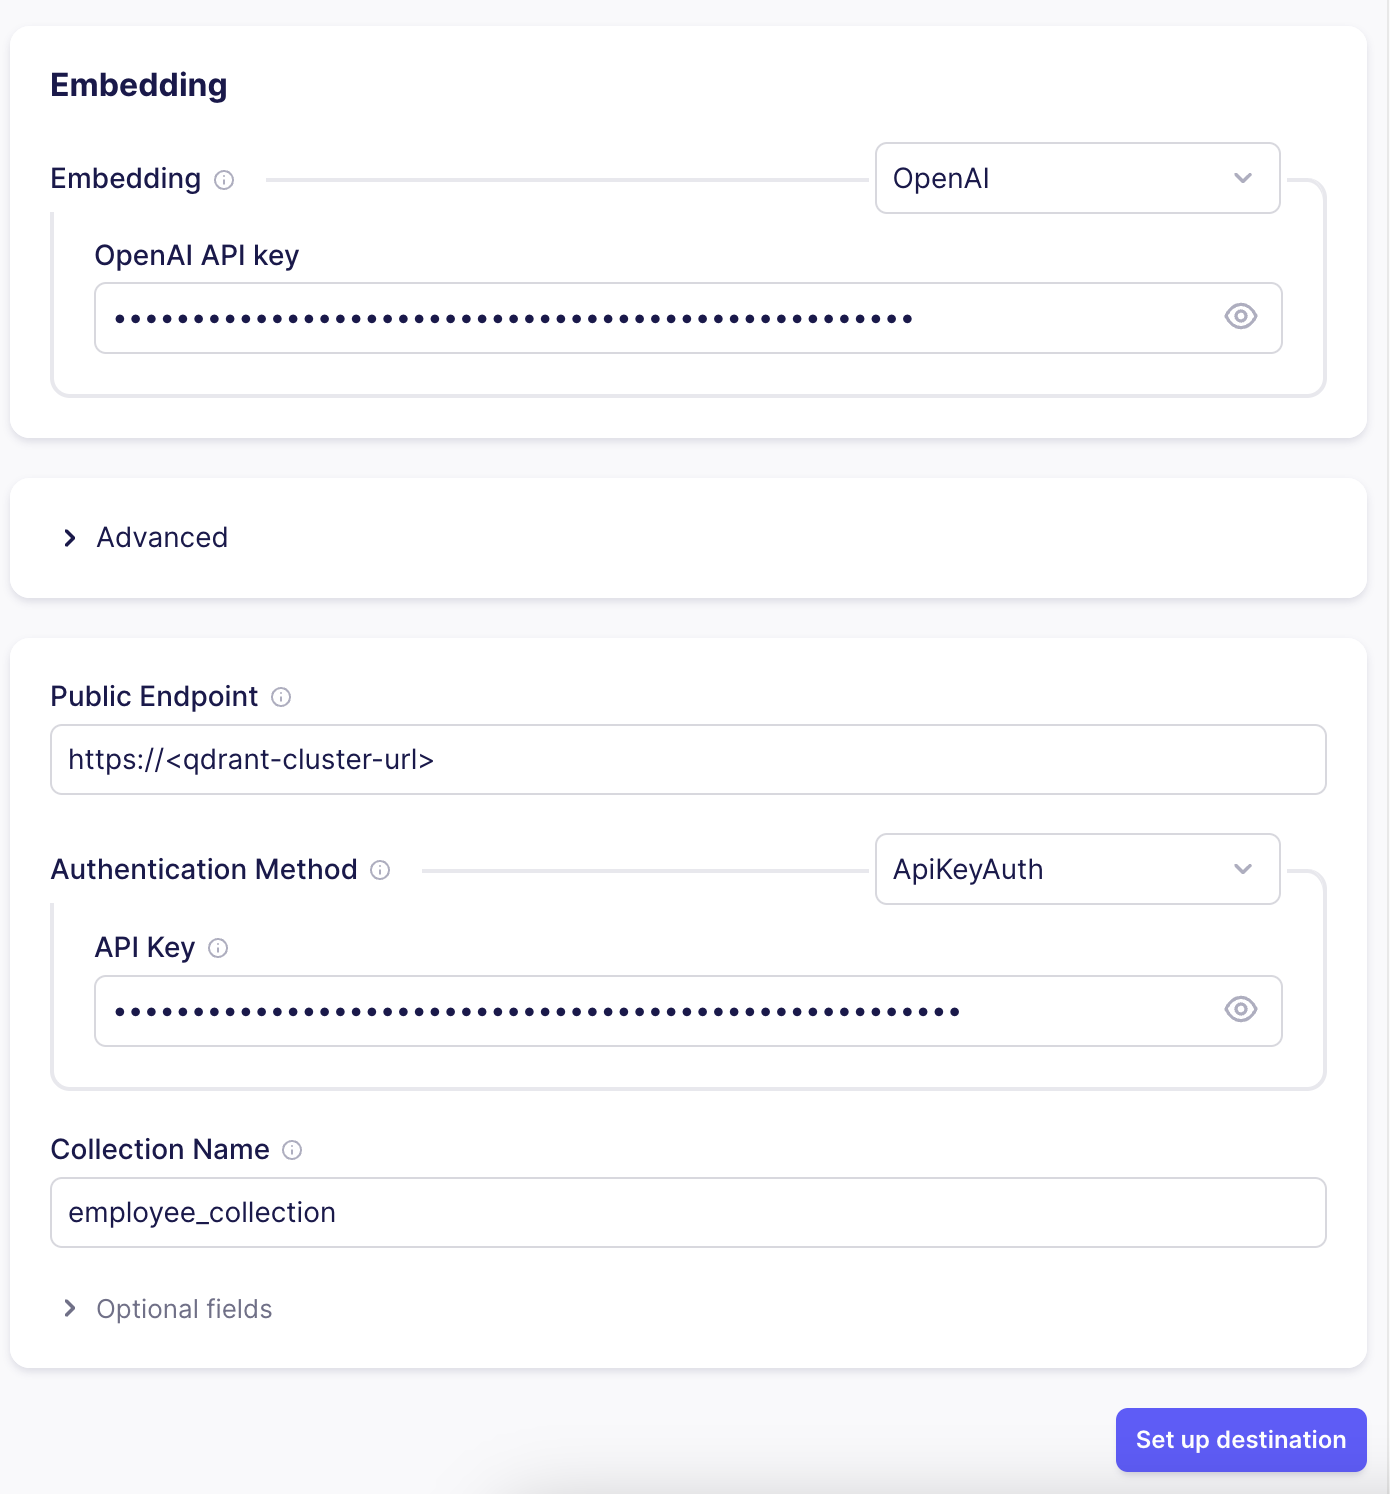
Post inserting all this information, we can click on the Set up destination button to complete the destination setup.
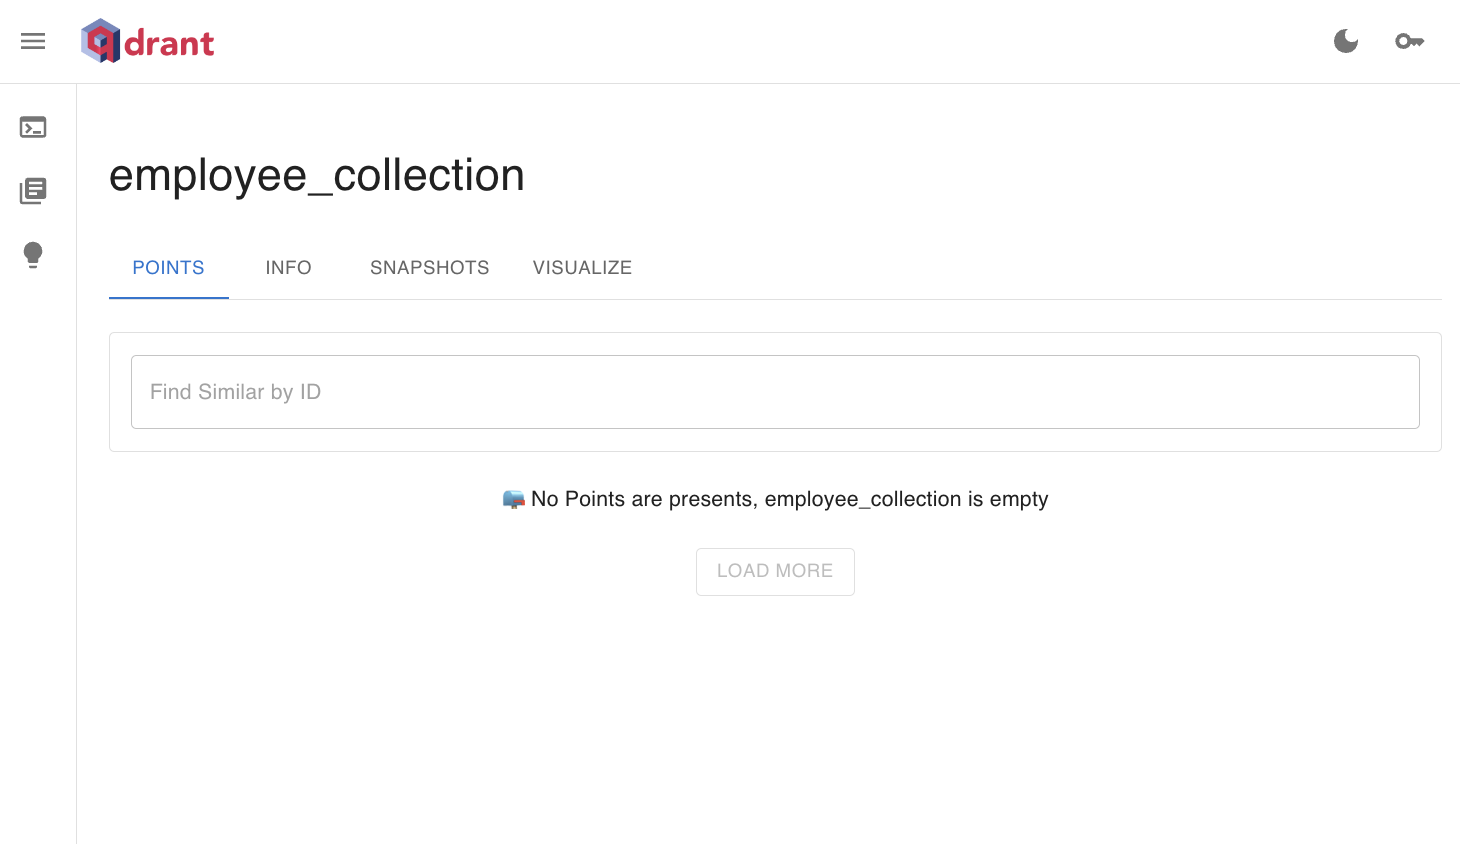
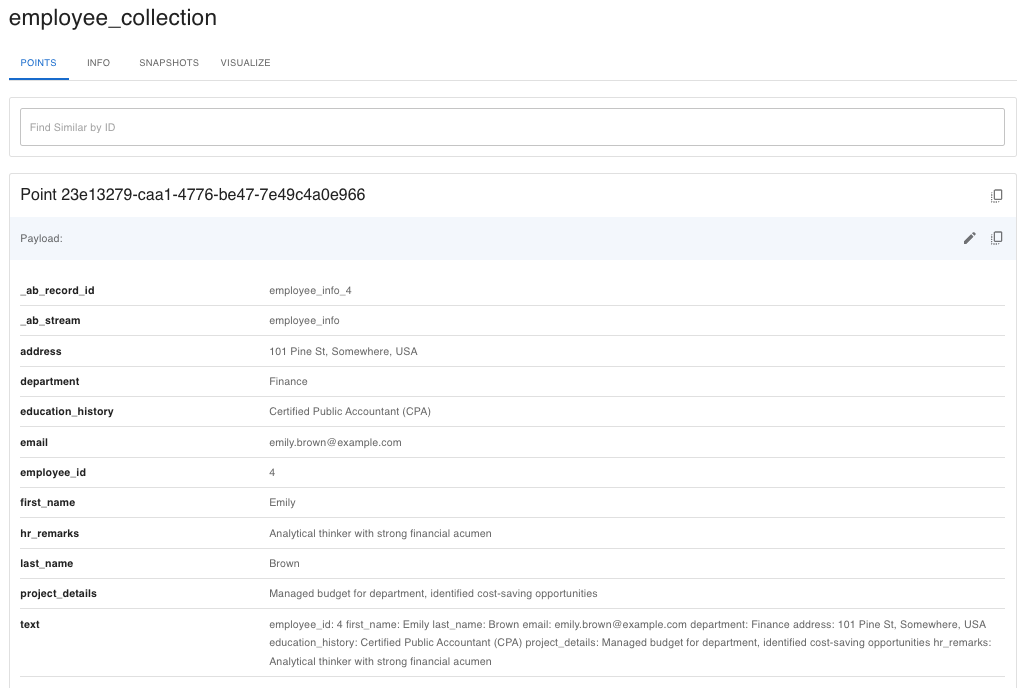
To verify, check the Qdrant Collections dashboard; you will be able to see the new employee_collection there.
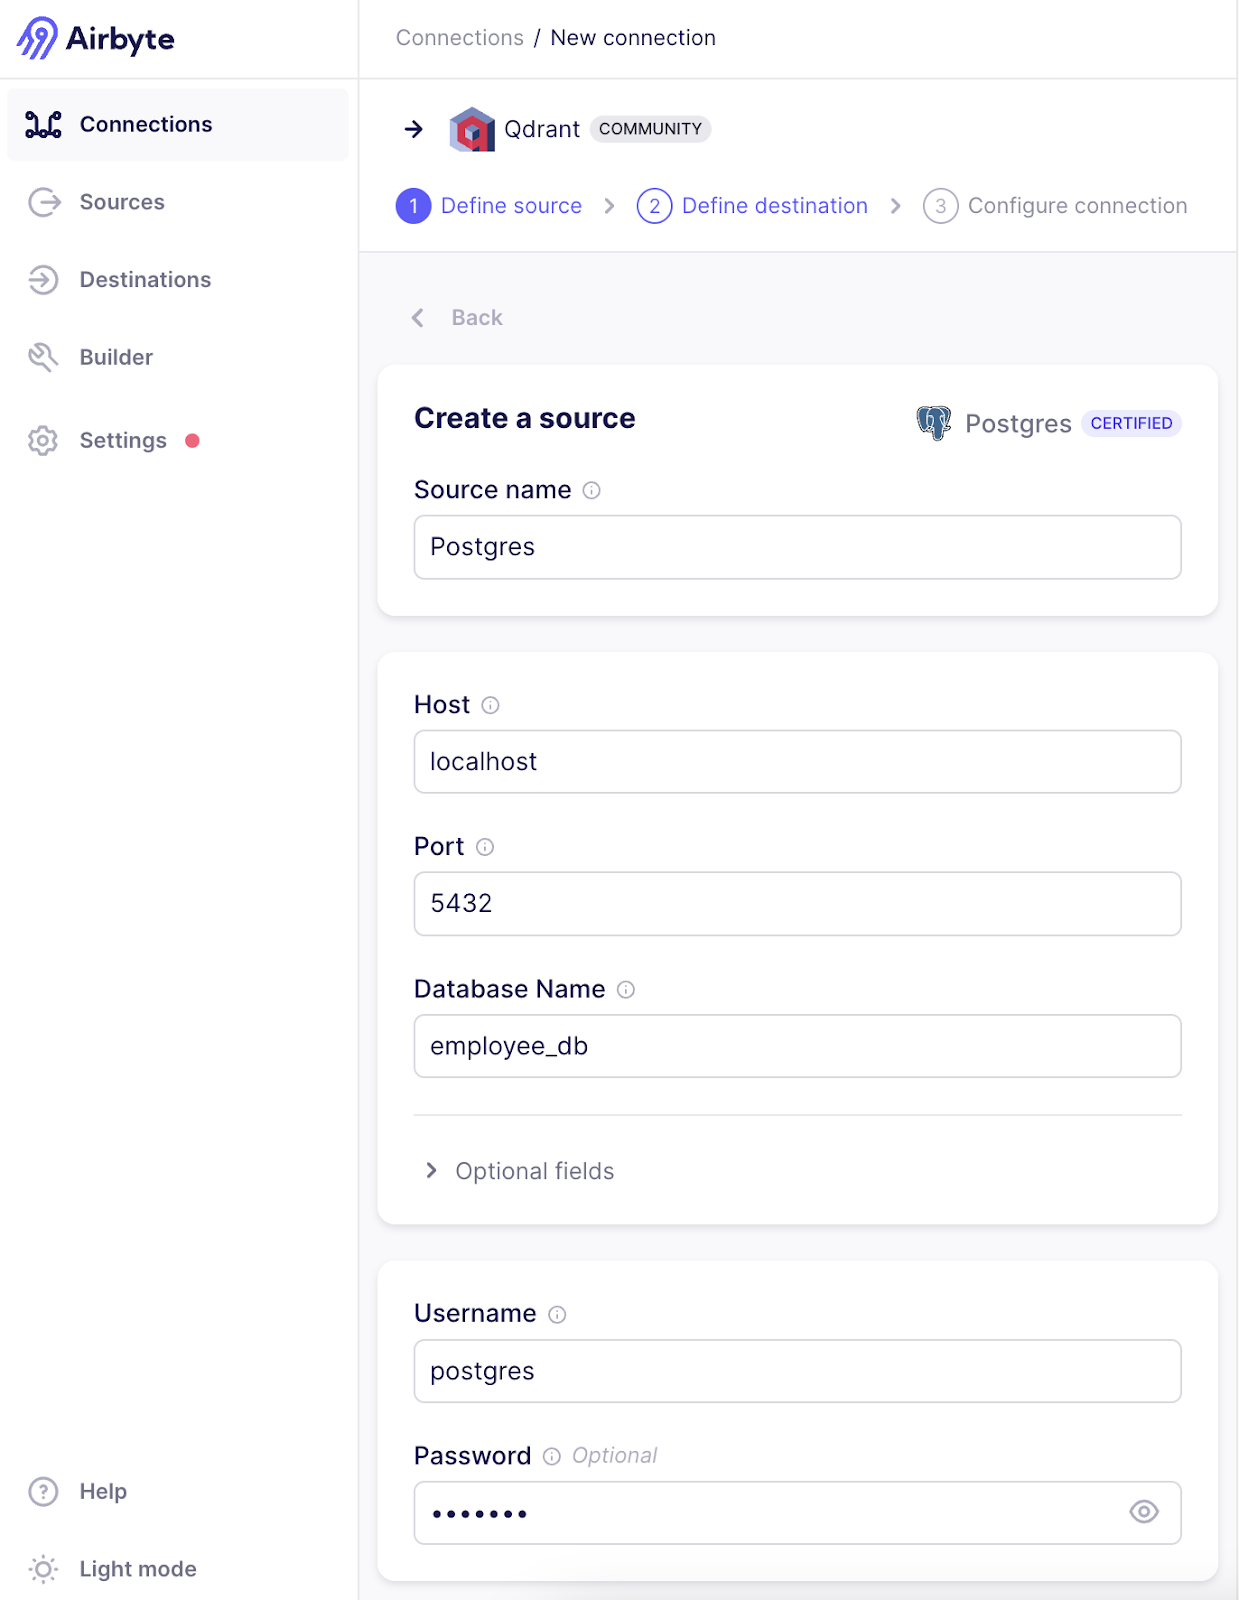
Next we need to define the source; there we will search for Postgres and select the Source connector.
In the Source connector, we need to provide the following information:
Host
Port
DB Name
Postgres Username
Postgres Password
Since we are using local Postgres, the host will be localhost and the port is 5432; the database selected is employee_db as discussed before.
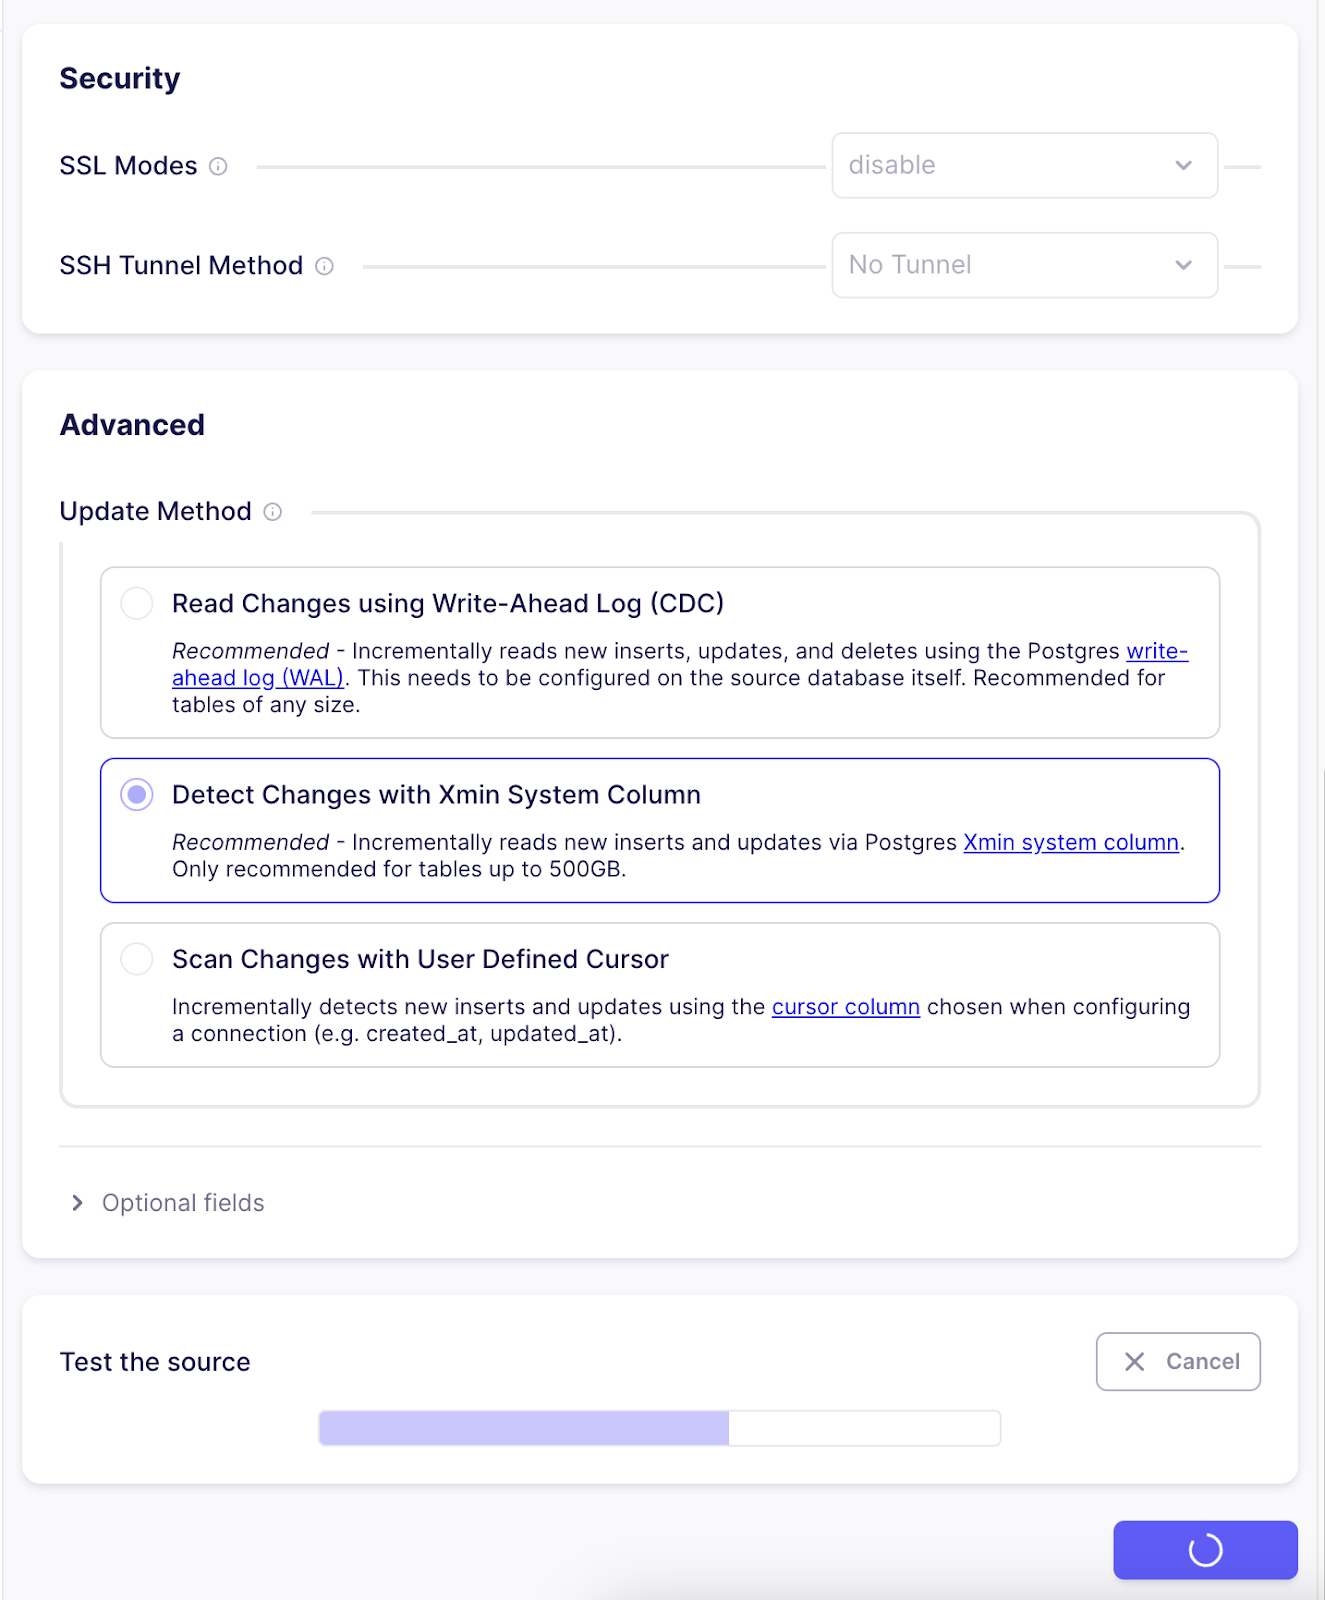
Since I don’t need any SSL mode or tunneling, I have disabled them. Next we need to select the replication method; I have selected Xmin. Xmin replication is the new cursor-less replication method for Postgres. Cursorless syncs enable syncing new or updated rows without explicitly choosing a cursor field. The Xmin system column is used to track inserts and updates to your source data. Now we need to click on Test and Save button, which will first test the DB connection and, if successful, will save the data connector.
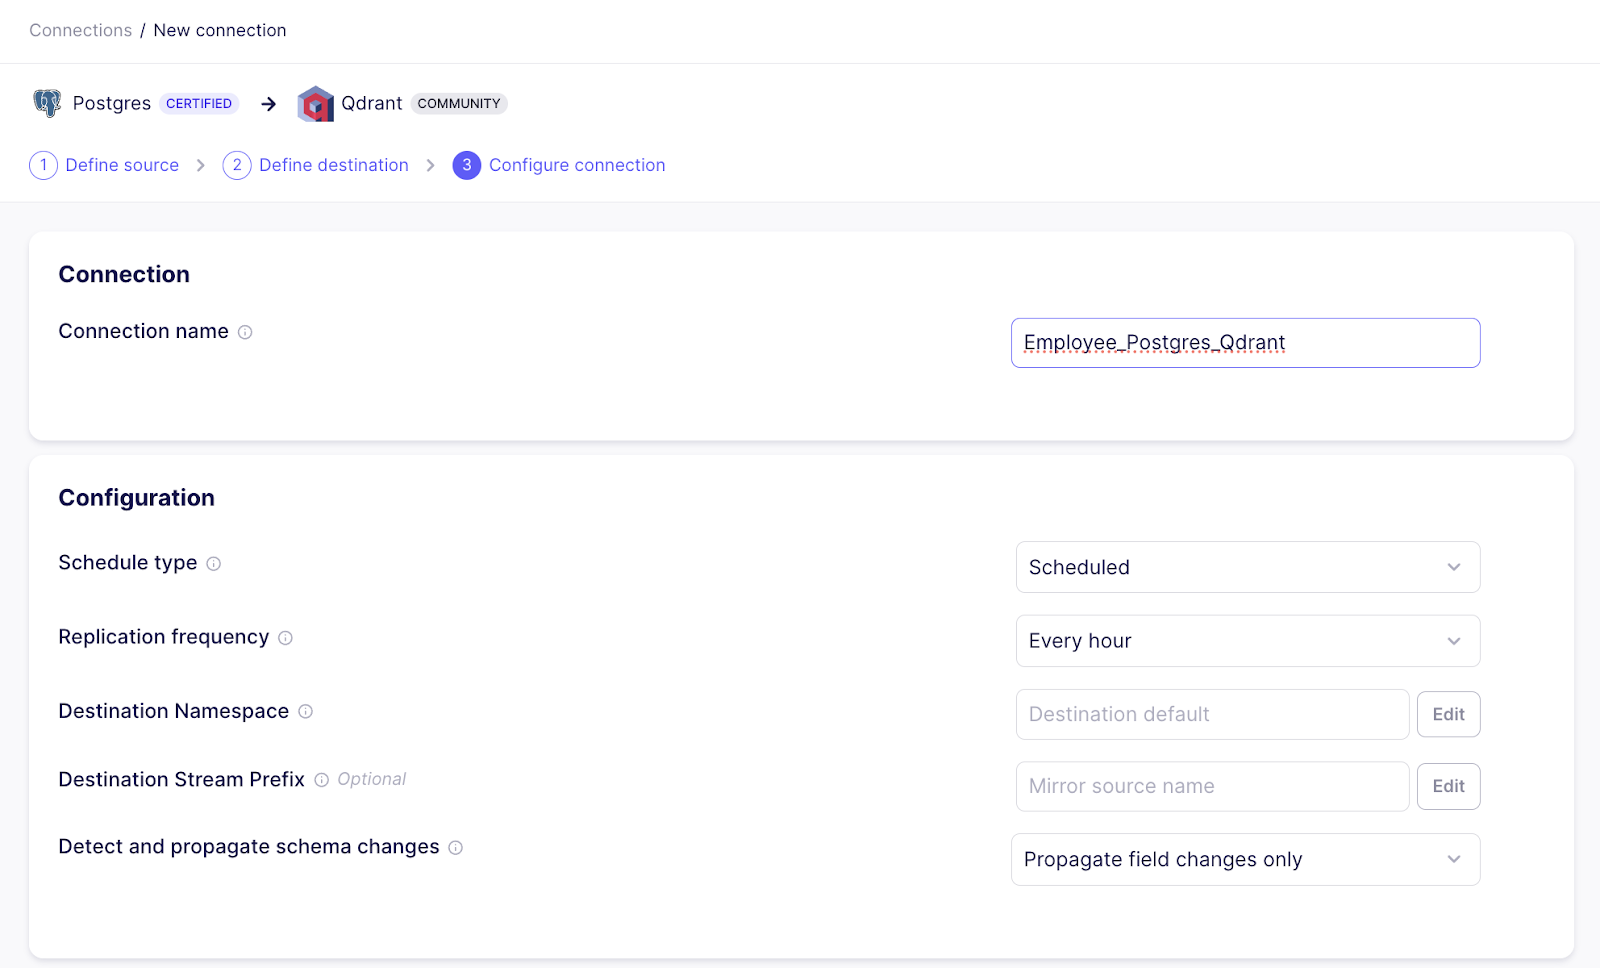
The last step involves setting up a connection that integrates the source (PostgreSQL) and destination (Qdrant) connectors. In this configuration, I've chosen to schedule data replication every hour. This means Airbyte will check for changes in your PostgreSQL data every hour, and if there are any updates, it will automatically synchronize them to the Qdrant vector store.
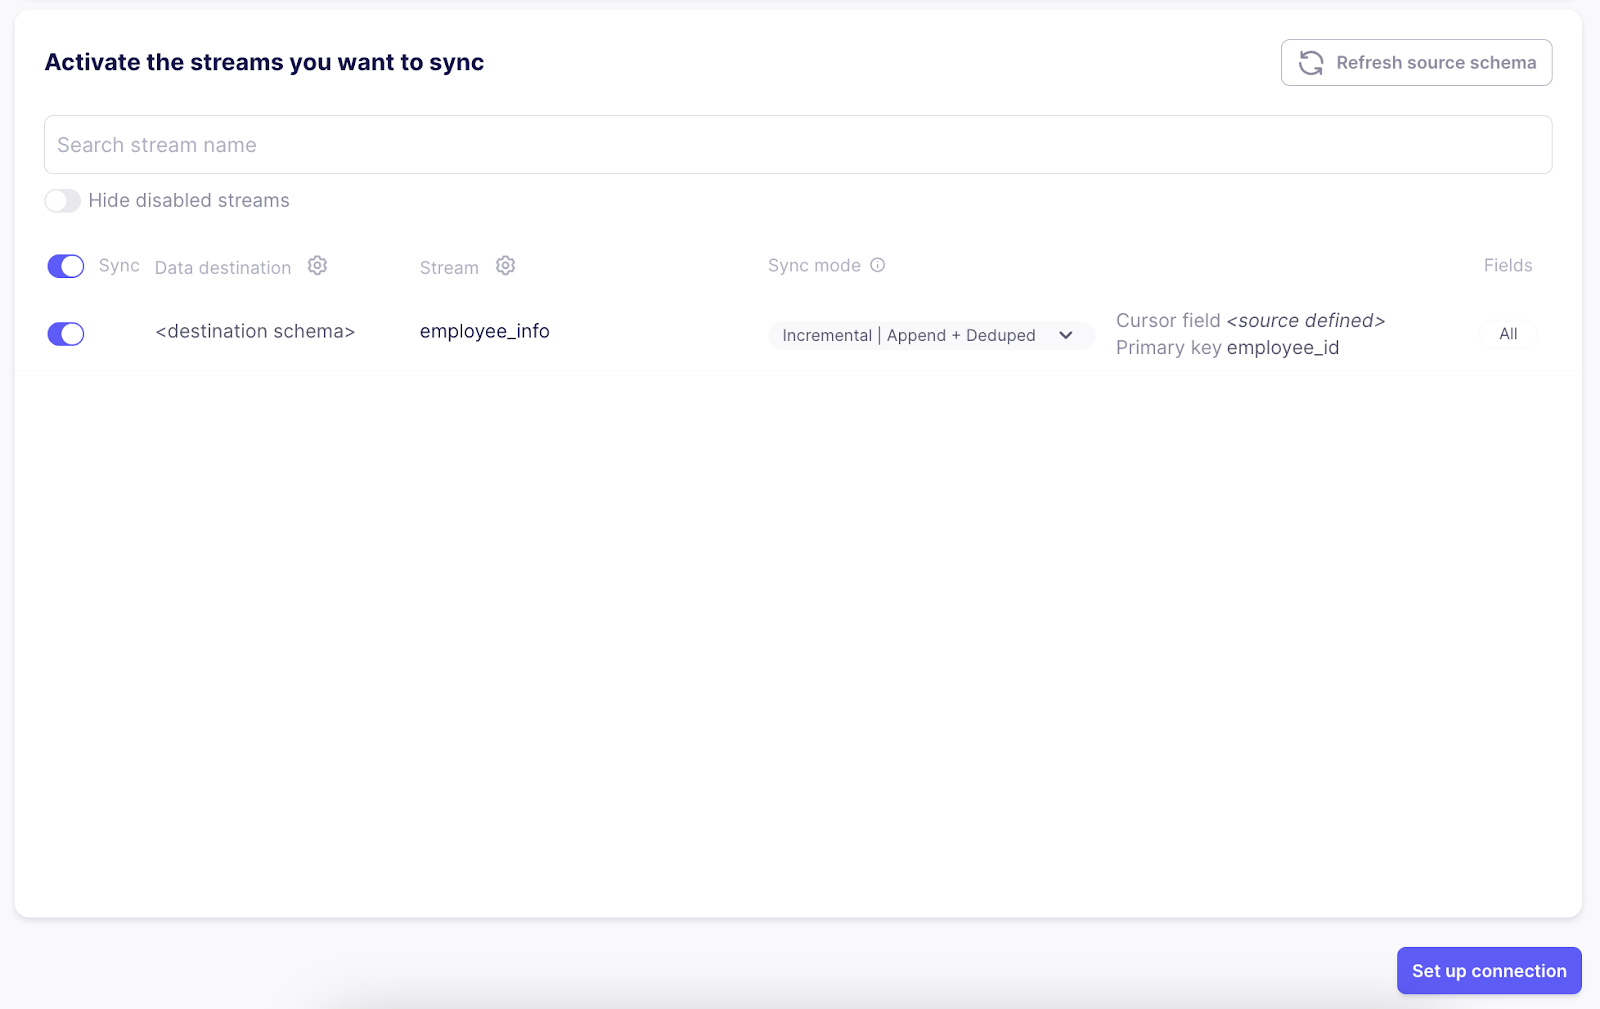
In the active stream section, select the tables you want to bind with the vector store. On clicking the Set up connection button, it will complete the connection between the two data connectors.
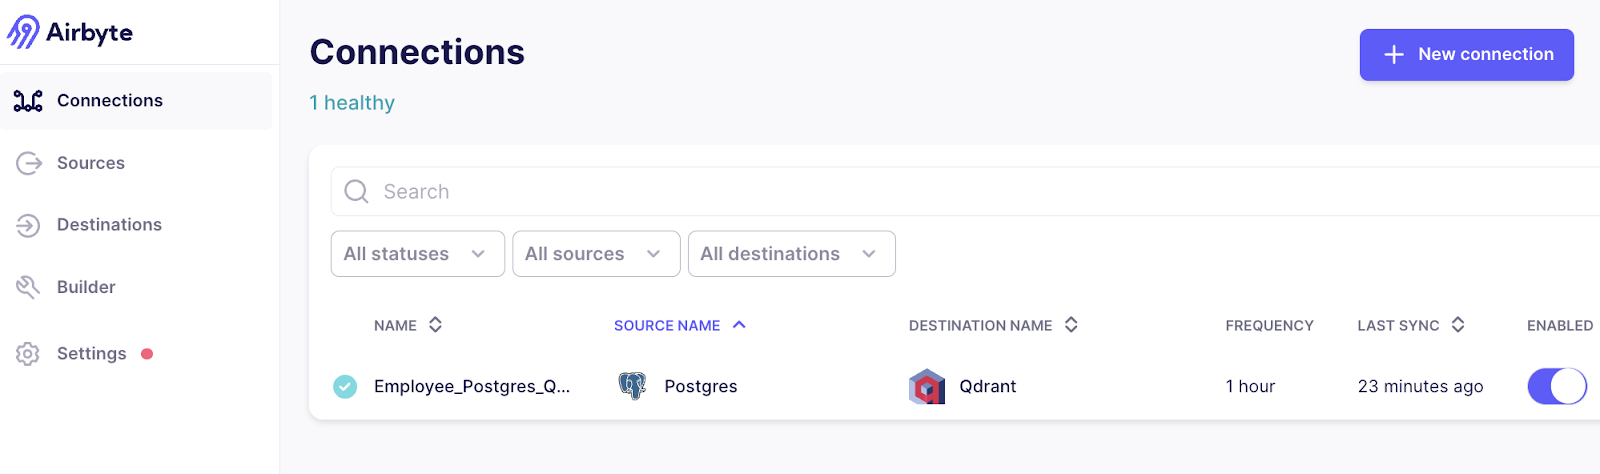
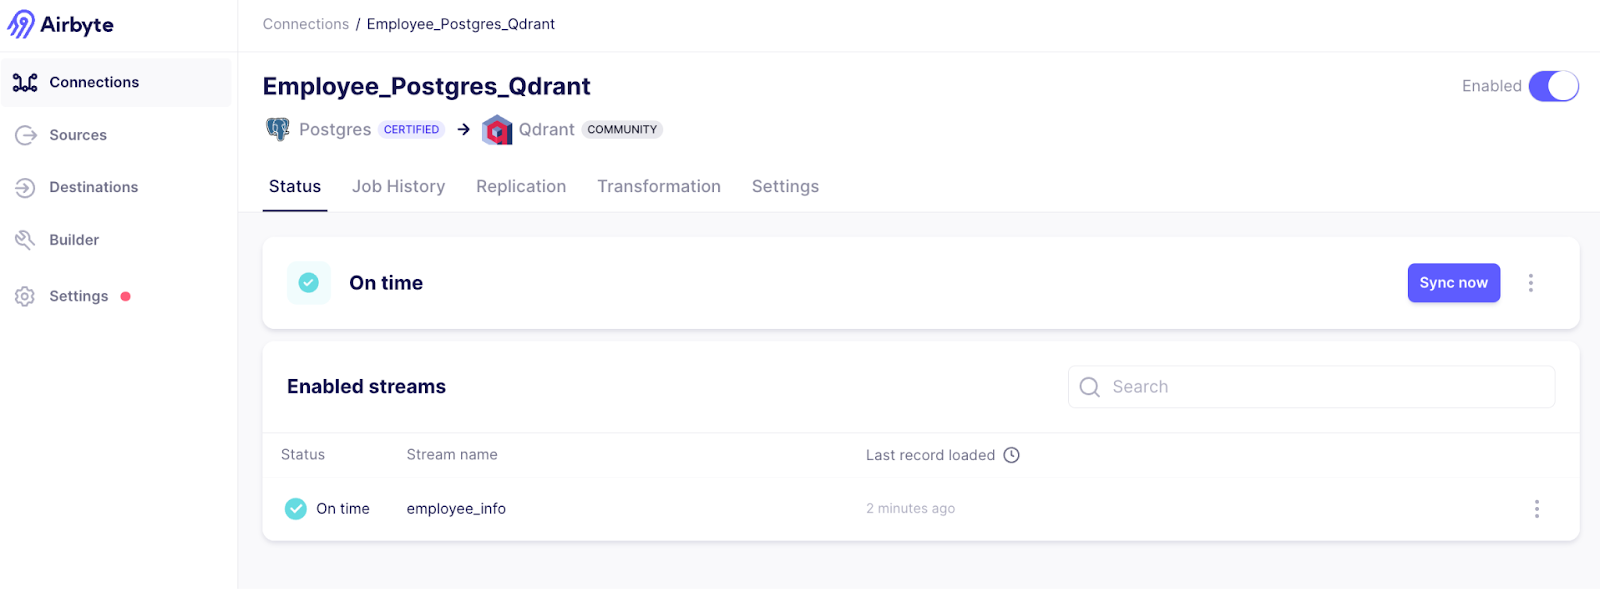
Once the connection setup is successful, we will be able to see the newly created connection in the dashboard.
In the connection details page, we can see detailed information like the last data sync, the data sync job history, etc. To manually sync the data, we can click the Sync now button and it will sync the delta change in real time.
Post sync, complete information is available in the Qdrant cloud collection.
Fetching the Employee Data in RAG
Now that we have successfully built the data pipeline and synced the data, let's try to retrieve the information from the vector store using a simple RAG.
For our RAG, first we need to install the following dependencies:
!pip install langchain langchain_community langchain_openai qdrant-client
Next, we will build the Qdrant retriever to retrieve similar documents from the vector store and send those documents to the LLM for extracting answers. Below is the code for the same:
import os

from langchain.prompts import PromptTemplate
from langchain_openai import OpenAIEmbeddings
import qdrant_client
from langchain_community.vectorstores import Qdrant
from langchain_openai import ChatOpenAI
from langchain_core.output_parsers import StrOutputParser


QDRANT_URL = "<qdrant_cluster_url>"
QDRANT_API_KEY = "<qdrant_api_key>"
os.environ["OPENAI_API_KEY"] = "<open_api_key>"

def get_qdrant_retriever(qdrant_collection):
    embeddings = OpenAIEmbeddings()
    qdrantClient = qdrant_client.QdrantClient(
        url=QDRANT_URL,
        prefer_grpc=True,
        api_key=QDRANT_API_KEY)
    qdrant = Qdrant(qdrantClient, qdrant_collection, embeddings, content_payload_key="text")
    return qdrant.as_retriever()


def retrieve_docs(user_question):
    retriever = get_qdrant_retriever("employee_collection")
    print("User question: ", user_question)
    resultDocs = retriever.get_relevant_documents(user_question)
    print("Number of documents found: ", len(resultDocs))
    return resultDocs


def answer_questions(user_question):
    retrieved_docs = retrieve_docs(user_question)

    template = """
    You are a question answering bot. You will be given a QUESTION and a set of paragraphs in the CONTENT section.
    You need to answer the question using the text present in the CONTENT section.
    If the answer is not present in the CONTENT text then reply `I don't have answer to the question`

    CONTENT: {document}
    QUESTION: {question}
    """

    prompt = PromptTemplate(
        input_variables=["document", "question"], template=template
    )

    output_parser = StrOutputParser()
    chain = prompt | ChatOpenAI(model_name="gpt-3.5-turbo") | output_parser
    llm_answer = chain.invoke({"document": retrieved_docs, "question": user_question})
    return llm_answer
Now let's test our RAG:

We were successfully able to fetch similar documents from the vector store and also received the answer to our question.
In this blog, we embarked upon a journey of building a data pipeline that empowers Retrieval-Augmented Generation (RAG) applications with the power of structured data. We explored Airbyte's capabilities in seamlessly extracting data from PostgreSQL databases and integrating it with the Qdrant vector store. We delved into setting up Airbyte locally, configuring source and destination connectors, and constructing the critical bridge between PostgreSQL and Qdrant. Finally, we witnessed the magic of data synchronization and built a basic RAG model that retrieved information effectively from the vector store. With these combined techniques, you're now equipped to leverage structured data to enhance the performance and capabilities of your RAG applications.
If you have any questions regarding the topic, please don't hesitate to ask in the comment section. I will be more than happy to address them.
I regularly create similar content on building AI applications, LLMs, and related AI topics. If you'd like to read more articles like this, consider subscribing to my blog.
If you're in the LLM domain, let's connect on Linkedin! I'd love to stay connected and continue the conversation. Reach me at: linkedin.com/in/ritobrotoseth